How to Construct a Shipping Container Home: A Step-by-Step Guide
Shipping container homes have become an increasingly popular alternative to traditional housing due to their affordability, durability, and sustainability. Originally designed to transport goods across oceans, shipping containers offer a strong structural foundation that can be transformed into modern, comfortable living spaces. Whether you’re looking to build a primary residence, vacation retreat, or rental property, understanding the construction process is essential for a successful project.
This guide outlines the key stages involved in constructing a shipping container home, from planning and design to finishing and occupancy.
Step 1: Define Your Vision and Requirements
Before purchasing containers or breaking ground, determine the purpose of your shipping container home. Consider factors such as:
- Number of bedrooms and bathrooms
- Total living space required
- Budget limitations
- Climate and environmental conditions
- Local building regulations
Creating a clear vision will help guide design decisions and prevent costly modifications later in the project.
Step 2: Select the Right Location
Choosing an appropriate site is one of the most important decisions in the construction process. The land should have proper access for delivering large shipping containers and should comply with local zoning and building codes.
Before moving forward, conduct a site assessment to evaluate:
- Soil stability
- Drainage conditions
- Utility access
- Environmental restrictions
- Topography
A professional survey can help identify potential challenges and ensure the site is suitable for construction.
Step 3: Design the Home Layout
The design phase involves converting your ideas into architectural plans. Shipping containers come in standard sizes, typically 20-foot and 40-foot lengths, making it easier to create modular layouts.
During this stage, determine:
- Room placement
- Window and door locations
- Interior flow
- Outdoor living areas
- Structural modifications
Working with an architect or designer experienced in container construction can help optimize space while maintaining structural integrity.
Step 4: Obtain Permits and Approvals
Every construction project requires compliance with local regulations. Contact the relevant authorities to secure the necessary permits before beginning work.
Required approvals may include:
- Building permits
- Electrical permits
- Plumbing permits
- Environmental clearances
- Occupancy certificates
Failing to obtain proper permits can result in delays, fines, or mandatory changes to the project.
Step 5: Purchase and Inspect Shipping Containers
Selecting high-quality containers is critical for the long-term success of the home. Containers are generally available in different grades, including new, one-trip, and used units.
When inspecting containers, look for:
- Structural damage
- Rust and corrosion
- Floor condition
- Roof integrity
- Proper alignment
Many builders prefer one-trip containers because they have experienced minimal wear and offer a cleaner starting point for residential construction.
Step 6: Prepare the Foundation
Although shipping containers are extremely strong, they still require a stable foundation. The type of foundation depends on soil conditions, budget, and design requirements.
Common foundation options include:
- Concrete slab foundations
- Pier foundations
- Strip foundations
- Pile foundations
A properly constructed foundation ensures the containers remain level and protected from moisture-related issues.
Step 7: Deliver and Position the Containers
Once the foundation is complete, the containers can be transported to the site and placed using cranes or specialized lifting equipment.
Precision is essential during placement because even minor alignment issues can create challenges during construction. Containers should be securely anchored to the foundation to enhance stability and safety.
At this stage, the basic structure of the home begins to take shape.
Step 8: Perform Structural Modifications
To create a comfortable living environment, openings must be cut into the steel walls for windows, doors, and interior connections between containers.
Structural modifications may include:
- Removing wall sections
- Adding support beams
- Reinforcing openings
- Creating stairwells
- Building roof extensions
Because shipping containers derive much of their strength from their walls and corners, any significant cuts should be reviewed by a structural engineer.
Step 9: Install Utilities
With the primary structure in place, utility systems can be installed. This phase includes:
Electrical Systems
Electrical wiring is routed throughout the home to provide power for lighting, appliances, and outlets.
Plumbing Systems
Water supply and drainage lines are installed according to the home’s layout and local building codes.
HVAC Systems
Heating, ventilation, and air conditioning systems ensure year-round comfort and improve indoor air quality.
Proper planning during this phase helps avoid future maintenance issues and costly repairs.
Step 10: Add Insulation and Interior Framing
Steel containers can become extremely hot or cold depending on the climate, making insulation essential.
Popular insulation options include:
- Spray foam insulation
- Rigid foam panels
- Mineral wool insulation
After insulation is installed, interior framing is added to create walls, support finishes, and conceal utilities.
This step transforms the industrial shell into a functional residential structure.
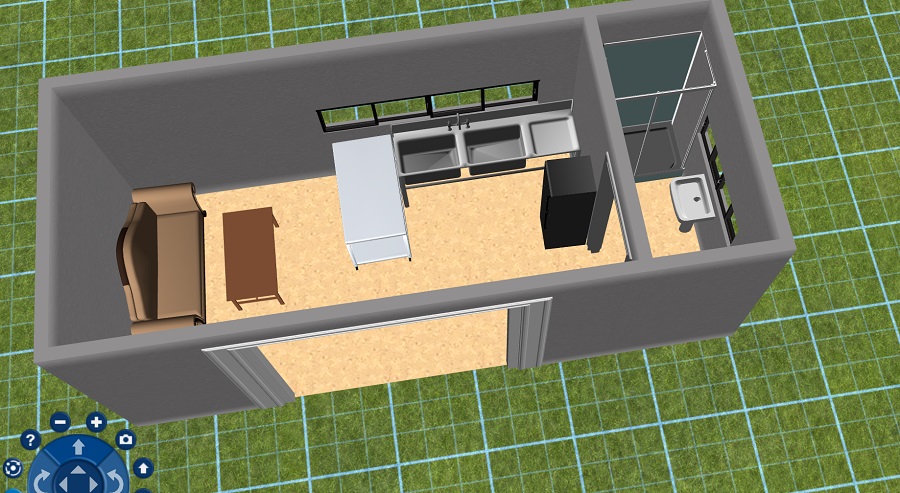
Step 11: Complete Interior Finishes
Interior finishing brings the home to life and reflects the owner’s personal style.
Tasks may include:
- Drywall installation
- Flooring placement
- Cabinet installation
- Painting and decorating
- Lighting fixtures
- Bathroom and kitchen completion
Modern shipping container homes often feature open floor plans, large windows, and contemporary design elements that maximize natural light and space.
Step 12: Finish the Exterior
The exterior finish protects the home while enhancing curb appeal.
Common exterior improvements include:
- Protective coatings
- Exterior cladding
- Roofing systems
- Decks and patios
- Landscaping
Many homeowners choose to leave portions of the container exposed to showcase the industrial character of the structure while combining it with natural materials such as wood or stone.
Step 13: Conduct Final Inspections
Before occupancy, all systems must be inspected to verify compliance with building standards.
Inspectors typically review:
- Structural integrity
- Electrical systems
- Plumbing systems
- Fire safety requirements
- Energy efficiency measures
Once all approvals are granted, the home can receive its occupancy certification.
Step 14: Move In and Enjoy
After months of planning and construction, the shipping container home is ready for occupancy. These homes offer a unique blend of sustainability, strength, and modern design while often reducing construction waste and building timelines.
With proper planning, quality materials, and professional guidance, a shipping container home can provide a comfortable and durable living space for many years. Whether built in a tropical environment like Costa Rica or another location around the world, the same fundamental construction principles apply, making container homes an innovative solution for modern housing.